Tire God Installation Guide
How to Activate Divine Protection Within Your Tires
Listen well, mortal.
Installing Tire God is simple, fast, and the single greatest step you can take to protect what moves you. This guide prepares you for success from the moment you open the box to the moment your tires gain their eternal shield.
Follow these steps closely. Your journey depends on it.
Before You Begin Your Tire God Sealant Installation
Your Tire God Kit Contains
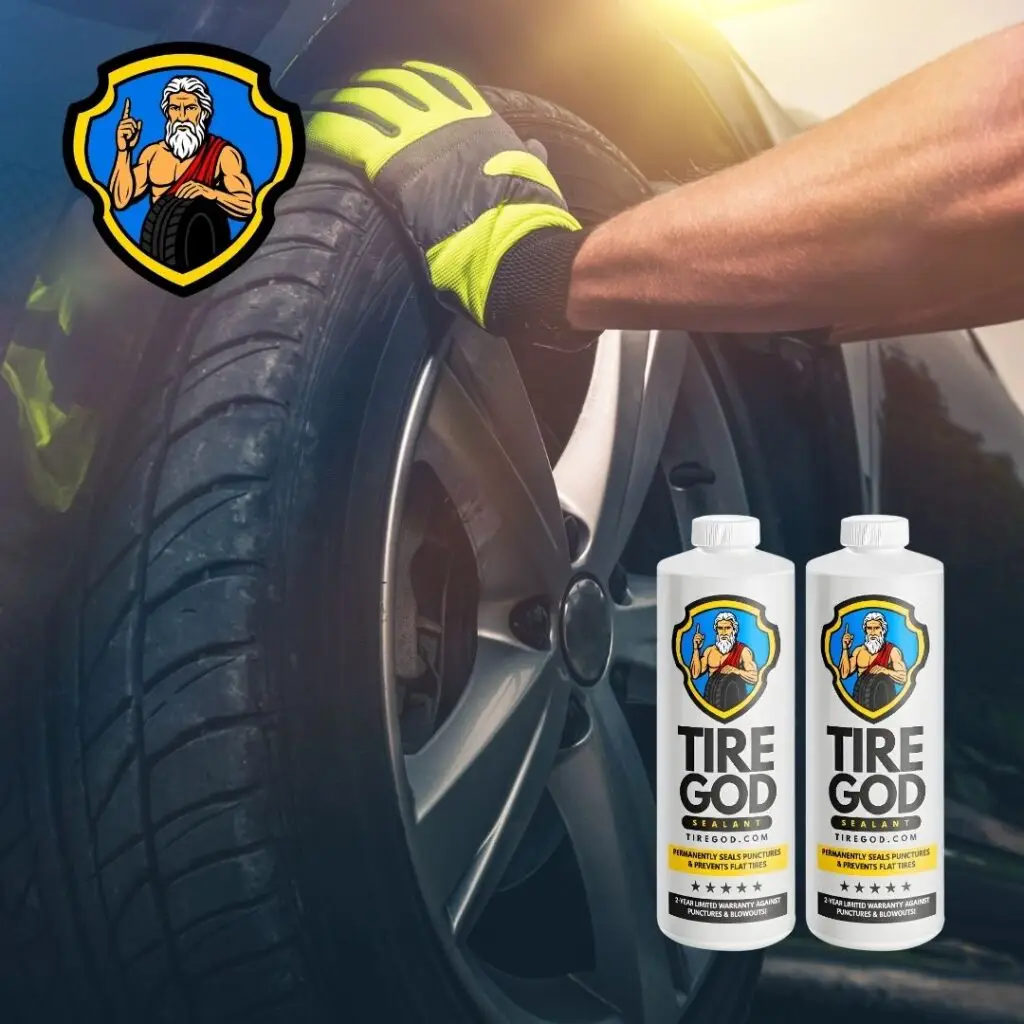
Tire God sealant bottles
Tire God injector (pre-measured dosing tool)
Tire God valve core tool
Clear instructions
What You’ll Need
Access to an air compressor or inflation station
Tire pressure gauge
A cloth or paper towel
Ideal Setup
Park on level ground
Tires cool to the touch
Good lighting
A few minutes of uninterrupted focus
Step 1: Deflate the Tires
Using the Tire God valve core tool, remove each valve core to release the air.
Allow each tire to fully deflate.
Pro tip: Place the valve cores in a small bowl so they don’t escape into unreachable mortal dimensions.
Step 2: Calculate Your Dosage
Each tire requires a precise amount of Tire God for optimal protection.
Open the Tire God Dosage Calculator (Below and QR Code Included In Your Kit)
Enter your tire size or measurements
Confirm all four tires are the same size
Note the required dosage in CCs
This amount is what you will load into your Tire God injector.
TIRE GOD — Sealant Dosage Calculator
Recommended Dosage
Step 3: Prepare the Sealant Syringe
Your kit includes a dosing syringe.
Insert the syringe tip firmly into your Tire God bottle.
Pull back to fill it with the exact dosage shown in your calculator results.
Remove air bubbles by pressing gently to “purge the syringe of any air before dosing,” as instructed in the reference document.
Pro Tip: Precision here means maximum divine protection later.
Step 4: Install Tire God Into Each Tire
Insert the syringe tip into the valve stem.
Dispense the full measured amount into the tire.
Repeat for all four tires, ensuring each receives the correct dosage.
Step 5: Reinstall Valve Cores
Place the valve cores back into each valve stem and tighten them securely using your tool.
Do not over-tighten — firm is enough.
Step 6: Reinflate the Tires
Use an air pump or compressor to inflate your tires to the manufacturer’s recommended PSI.
This completes the installation phase.
Step 7: Rotate the Tires to Distribute the Sealant (Drive)
Drive for 3–5 minutes at low-to-moderate speed.
This spreads Tire God evenly inside the tire, creating a full internal protection layer.
Once distributed, your tires are now:
Permanently sealed
Protected from flats
Ready to stop punctures instantly
Balanced by the internal coating
Tire God's Core Beliefs
Protection. Safety comes first — always.
Clarity. If a mortal can’t understand it, it’s not divine.
Sustainability. Water-based, non-toxic, and easy to clean.
Empowerment. Knowledge is as powerful as pressure — and I give both.
The Mortals Behind the Miracle
Tire God’s engine engineers are the artisans of my form. Chemists and mechanics collaborated to refine every molecule — crafting a product that seals punctures up to ½ inch instantly. Each batch is tested for viscosity, bonding strength, and compatibility with TPMS sensors.
Their science built my body. My spirit gives it purpose.
Accessibility & Inclusion
I protect all drivers, no exceptions. Instructions are visual, simple, and available in multiple languages. Every product image includes descriptive alt text for clarity. Example alt text: “Close-up of Tire God sealant bottle connected to a tire valve with applicator hose attached.”
Safety shouldn’t require translation — and with me, it doesn’t.